Introduction
Embracing solar energy not only aligns with global sustainability goals but also offers significant long-term savings for homeowners and businesses alike.
As the solar industry advances, the solar panel installation process has become more streamlined and accessible.
As an expert of solar energy industry, I will provide a clear, step-by-step walkthrough of solar panel installation through the following guide, ensuring you’re well-equipped to harness the sun’s power effectively.
Chapter 1: Preparation Before Installation
1.1 Site Inspection
A thorough site inspection is the first and crucial step before installing solar panels. It’s imperative to identify the most optimal location for the panels. This process requires a detailed analysis of the potential installation site’s direction and angle, whether it’s a roof or a ground space.
Another essential factor to consider is the amount of sunlight the site receives daily. A location with maximum sunlight exposure ensures the efficiency of the solar panels. However, it’s vital to ensure that the chosen site has minimal obstructions, such as trees or nearby buildings, that might shade the panels.
For those considering roof installations, the roof’s condition should not be overlooked. It needs to be robust and in good shape to bear the weight of the solar panels and withstand various weather conditions. Any damages or vulnerabilities in the roofing structure should be addressed prior to the installation to ensure the safety and longevity of the solar system.

1.2 Energy Consumption Analysis
Understanding energy consumption is pivotal when transitioning to solar energy solutions. By examining past electricity bills, you can gain insights into your energy consumption trends and patterns. This data is instrumental in determining the appropriate size and capacity of the solar system to meet current needs.
Additionally, it’s essential to forecast and account for potential future energy requirements. Factors like the introduction of new electrical appliances or plans for infrastructure expansion can influence energy consumption. By anticipating these changes, you can ensure that the solar system is equipped to cater to both present and upcoming energy demands.
1.3 Obtain Necessary Permits
Checking with local authorities or governing bodies about required permits for solar installations is very necessary. For different regions or countries might have distinct regulations concerning solar installations.
Additionally, if you are considering a connection to the main electrical grid, it’s imperative to seek permission from the local utility company. This step ensures that the integration process is seamless and adheres to all safety and regulatory standards.
1.4 Choose the Right Solar Panels and Inverter
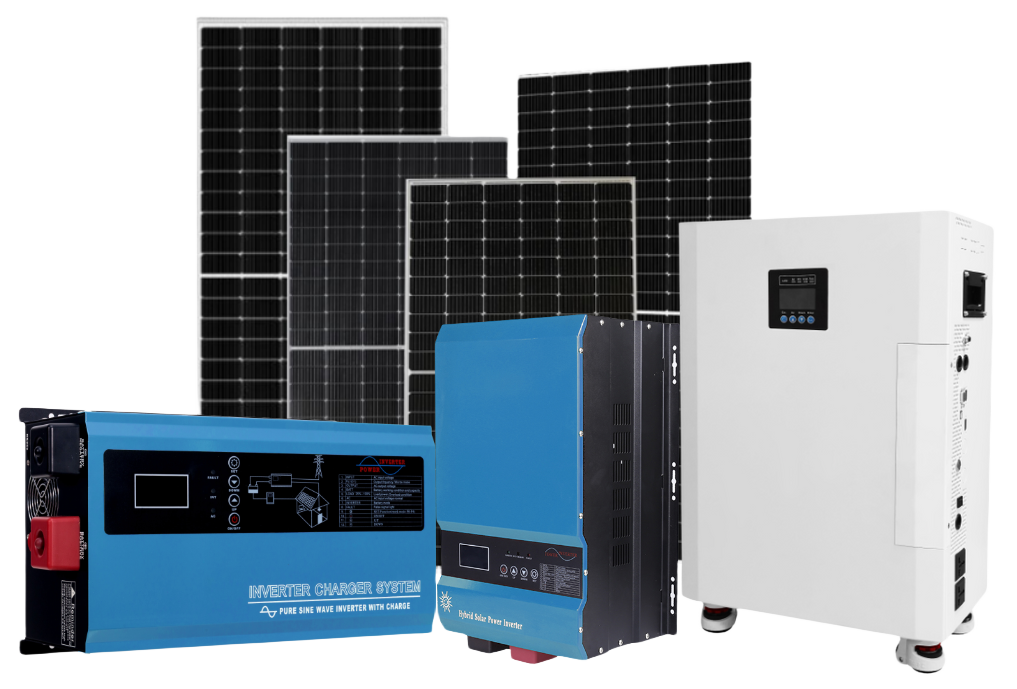
Choosing the appropriate solar panels and inverter is crucial for the optimal performance of your solar energy system. When selecting solar panels, it’s essential to consider the type of panel that best suits your needs. Monocrystalline, polycrystalline, and thin-film panels each have their unique advantages in terms of efficiency, cost, and space requirements. Additionally, the quality of the panels is paramount. Ensure that they come from a reputable manufacturer and are backed by a substantial warranty.
The inverter plays a vital role in converting the direct current (DC) produced by the solar panels into alternating current (AC) used in most electrical appliances. When choosing an inverter, it’s crucial to ensure it’s compatible with the selected solar panels. The inverter should also have the capacity to handle the maximum output of your solar panel system. Lastly, consider its placement. The inverter should be located in an easily accessible spot, preferably close to the main power system, ensuring efficient energy transmission and ease of maintenance.

1.5 Budgeting and Financing
Investing in a solar energy system necessitates a comprehensive understanding of the associated costs. Begin by conducting a thorough cost analysis, accounting for all expenses related to the solar system. This includes the cost of the panels, inverters, installation labor, and any supplementary components that might be needed.
Once the overall expenditure is estimated, it’s beneficial to investigate various financing avenues. Many regions offer financial incentives to promote the adoption of renewable energy, such as loans, grants, or tax rebates. Leveraging these options can significantly reduce the financial burden, making solar energy a more viable and affordable choice.
Chapter 2: Main Types of Solar Panels
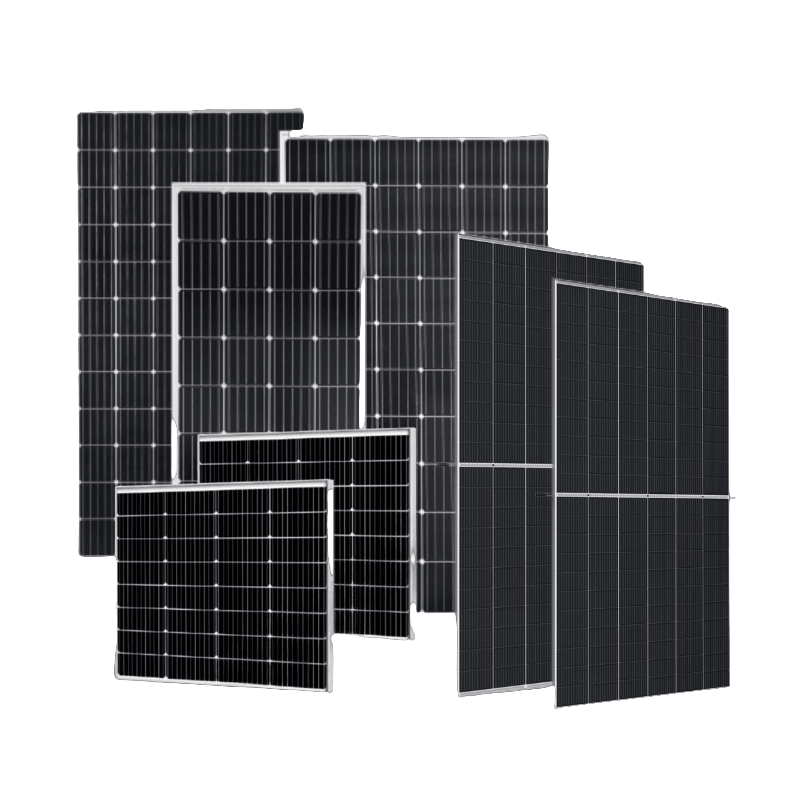
There are three major types of solar panels:
- monocrystalline
- polycrystalline
- thin-film
Each type has its own unique advantages and disadvantages, the most appropriate solar panel for your installation hinges on your individual preferences and the unique characteristics of your property.


2.1 Monocrystalline Solar Panels
- Description: Made from a single, pure silicon crystal, giving them their characteristic uniform dark look.
- Efficiency: Generally the most efficient type, with efficiencies ranging between 15-20%.
- Cost: Typically more expensive due to the high-quality silicon used.
- Lifespan: About 25-30 years.
2.2 Polycrystalline Solar Panels
- Description: Composed of multiple silicon fragments melted together, resulting in a blue, speckled appearance.
- Efficiency: Slightly less efficient than monocrystalline panels, with efficiencies around 13-16%.
- Cost: Generally less expensive than monocrystalline panels.
- Lifespan: About 25-30 years.
2.3 Thin-Film Solar Panels
- Description: Made by depositing one or more thin layers of photovoltaic material on a substrate. They are thinner and more flexible than crystalline-based solar cells.
- Efficiency: Typically lower efficiency, ranging from 10-12%.
- Cost: Often less expensive but require more space due to lower efficiency.
- Lifespan: Shorter lifespan, typically around 15-20 years.
- Varieties: Includes amorphous silicon (a-Si), cadmium telluride (CdTe), and copper indium gallium selenide (CIGS).
Chapter 3: The Installation Processes (Step By Step)
Step 1: Mounting the Structure
The first order of business is to install the mounting structure that will hold your solar panels in place. A strong foundation is crucial for a robust solar system.
1.1) Mark the Drill Points: Accurately mark the drill points on your roof based on your panel layout.
1.2) Install Roof Anchors: Securely attach roof anchors to these points. Make sure they’re tightly fastened.
1.3) Attach Mounting Rails: Next, mounting rails are attached to these anchors. Ensure they are parallel and leveled.
1.4) Final Check: Before moving on, double-check that the entire structure is securely fastened and leveled.
Step 2: Installing Panels
Once the mounting structure is ready, it’s panel time!
2.1) Lay the Panels: Carefully lay the solar panels on the mounting rails. Handle them by their edges to avoid damage.
2.2) Secure the Panels: Use the mounting hardware to securely fasten each panel to the mounting rails.
2.3) Connect the Panels: Follow the wiring diagram to interconnect the panels in series or parallel, based on your system design.

Step 3: Connecting Inverter
The inverter is what turns the sun’s rays into usable energy. Let’s get it connected!
3.1) Position the Inverter: Choose a location that is easily accessible and close to the panels.
3.2) Connect DC Wires: Attach the DC input wires coming from the solar panels to the inverter.
3.3) Connect AC Output: Now, connect the inverter’s AC output to your home’s electrical system.
Step 4: Final Testing
Before you start enjoying free electricity, let’s make sure everything is up to snuff.
4.1) Initial Testing: Conduct an initial test to ensure that the electrical connections are sound.
4.2) System Check: Run a complete system check to ensure all components are functioning properly.
4.3) Monitor the Output: Use a multimeter to confirm that the panels are generating the expected voltage and current.

Chapter 4: Solar Panel Angle Calculator Guide
Ideally, solar panels should be positioned to capture the maximum amount of sunlight throughout the day, so the angle at which solar panels are mounted plays a pivotal role in solar panel installation. The factors which affect the angle of solar panels include latitude, season and roof pitch.
4.1 Factors Influencing Solar Panel Angle
Latitude: Your geographical location or latitude is a primary factor. Typically, the closer you are to the equator, the flatter your panel angle will be.
Season: The sun’s position in the sky changes with the seasons. Adjusting the angle of your solar panels seasonally can optimize energy capture.
Roof Pitch: If you’re mounting solar panels on a roof, the roof’s pitch might dictate the angle, especially if adjustable mounts are not being used.
4.2 Basic Calculation
For a rough estimate of the optimal angle:
- Winter: Latitude + 15°
- Spring/Fall: Latitude
- Summer: Latitude – 15°
4.3 Fine-tuning the Angle
Solar Noon: Determine the time of solar noon in your location, which is when the sun is highest in the sky.
Solar Declination: This is the angle between the rays of the sun and the plane of the Earth’s equator. It varies throughout the year. There are declination calculators and tables available online to determine this value for any given day.
Hour Angle: This is the measure of time since solar noon, expressed in angular measurement (15° per hour).
Using these values, you can use the Solar Elevation Angle formula, which considers your latitude, the solar declination, and the hour angle. The complement of the solar elevation angle (90° minus the elevation angle) will give you the optimal angle at which the solar panel should be set.
4.4 Advanced Tools and Calculators
There are numerous online tools and software that can provide precise calculations based on specific inputs like exact location, date, and time. These tools often use complex algorithms and satellite data to offer accurate recommendations for solar panel angles.

Chapter 5: Solar Panel kWh Calculator Guide
5.1 Basic Calculation Steps
Determine Panel Capacity: This is typically provided by the manufacturer and is expressed in watts (W) or kilowatts (kW). For example, a common household solar panel might be rated at 300W.
Estimate Sunlight Hours: Determine the average number of peak sunlight hours your location receives per day. This varies based on geographic location, season, and local weather conditions.
Calculate Daily Energy Output:
Daily Energy Output (kWh) = Panel Capacity (kW) × Sunlight Hours
Estimate Monthly and Yearly Output:
Monthly Output = Daily Energy Output × 30 (average days in a month)
Yearly Output = Daily Energy Output × 365 (days in a year)
5.2 Factors Influencing kWh Production
Panel Efficiency: Not all sunlight is converted to electricity. Panel efficiency, often around 15-20%, affects how much energy is produced.
Angle and Orientation: Panels should be angled optimally towards the sun, and the direction they face (usually south in the Northern Hemisphere) can influence energy capture.
Temperature: Solar panels can lose efficiency in very high temperatures.
Shading: Obstructions like trees or buildings can reduce the sunlight hitting the panels, decreasing energy output.
System Losses: Energy can be lost in inverters, cables, and other system components.
5.3 Advanced Considerations
Degradation Rate: Over time, solar panels degrade and produce slightly less energy each year. This rate is usually around 0.5% to 1% annually.
Inverter Efficiency: The inverter, which converts DC from the panels to AC for home use, typically operates at 93-97% efficiency.
Load Profile: The energy consumption pattern of the household or facility can influence how much solar energy is used directly vs. stored or fed back into the grid.
5.4 Online Tools and Software
There are various online solar kWh calculators available. By inputting specific data like your location, panel type, roof angle, and more, these tools can provide a detailed estimate of potential energy production.

Chapter 6: Troubleshooting and Maintenance
Solar panel systems are generally designed for durability and longevity. However, like any other electrical system, they might encounter issues over time. Regular maintenance and prompt troubleshooting can ensure that the system operates efficiently and extends its lifespan.
6.1 Common Issues and Troubleshooting
Reduced Energy Production:
- Check for obstructions like dirt, leaves, or snow on the panels.
- Ensure there’s no shading from new structures, trees, or other obstacles.
- Verify the inverter’s status lights and error messages, if any.
Inverter Issues:
- Ensure the inverter is on and displaying its status lights.
- Restart the inverter by switching it off, waiting a few minutes, and then turning it on.
- Check for error messages and consult the user manual or manufacturer’s website for guidance.
System Monitoring Issues:
- Ensure the monitoring system is online and connected.
- Reset or restart the monitoring device.
- Check if software or firmware updates are available.
Physical Damage:
- Inspect panels for cracks, discoloration, or water leakage.
- Check mounting systems for any loose or damaged components.
6.2 Routine Maintenance Practices
Cleaning:
- Clean the panels periodically, especially in areas with high dust or pollen.
- Use water and a soft brush or cloth. Avoid abrasive materials and chemicals.
Inspection:
- Periodically inspect the system for any loose connections, corrosion, or physical damage.
- Ensure all wires and connections are secure and in good condition.
Professional Check-Up:
- Schedule an annual or bi-annual check-up with a solar professional.
- They can conduct a thorough inspection, including checking the electrical connections, inverter operation, and overall system health.
Monitoring System:
- Regularly check the system’s monitoring platform to ensure it’s recording data correctly.
- Address any consistent discrepancies in energy production.
Inverter Maintenance:
- Keep the area around the inverter clean and free from obstructions.
- Ensure it’s well-ventilated, as excessive heat can impact its performance.
Battery Care (if applicable):
- Check battery connections and ensure they’re clean and tight.
- Monitor battery health and replace them when their efficiency drops significantly.

Chapter 7: FAQ for Installation
7.1 Can I install the panels myself?
Yes, you can learn about solar installation and install solar panels yourself, but we still recommend to hire professionals. They have the expertise to ensure optimal performance, safety, and adherence to local regulations.
7.2 How long does the installation process typically take?
The installation process can vary based on the size of the system and site-specific challenges. However, for most residential installations, it usually takes 1-3 days.
7.3 How do I know if my roof is suitable for solar panels?
A professional assessment will determine your roof’s suitability. Generally, roofs with good exposure to sunlight, sturdy structure, and relatively new roofing materials are considered suitable.
7.4 Can I install solar panels on a flat roof?
Yes, solar panels can be installed on flat roofs using specialized mounting systems that tilt the panels at the optimal angle.
7.5 What if my property doesn’t have enough space for all the panels I need?
Solar panels can also be installed on ground mounts, carports, or other structures if roof space is limited.
7.6 Is there a warranty on solar panels?
Most manufacturers offer warranties that typically last 25 years. It’s essential to understand what the warranty covers – performance, product defects, or both.
At SolarCtrl, we offer 10-year warranty for material and 25-year linear power output warranty for all our solar panels.
7.7 Do you supply the service of installation?
we offer a range of services to VIP distributors, including installation. We aim to provide prompt and effective technical support to ensure the smooth operation of your equipment and systems.
Conclusion
Embarking on the journey of solar panel installation can seem daunting initially, but with a structured approach, it becomes a manageable and rewarding endeavor.
By following this step-by-step guide, individuals and businesses can ensure they’re tapping into the full potential of solar energy, reaping both its environmental and economic benefits.
As always, partnering with experienced professionals in the field can further enhance the installation experience and system efficiency.
SolarCtrl is a professional manufacturer and supplier in solar energy industry since 2009. In the past 14 years, our solar products are used in over 60 countries and areas. We are passionate about promoting sustainable energy practices and reducing the carbon footprint all over the world.
If you’re ready to make the transition to solar or have any questions, don’t hesitate to reach out to us. Contact us now for a free inquiry and let us guide you on your solar journey.


